You can define VIP status levels which may be assigned to Users in the person details window. The VIP status indicates to a support analyst whether a call they are handling has been logged by a VIP User.
You can use User VIP statuses as an available criterion when setting up your IPK Workflow Rules You cannot partition by VIP status.
Creating a User VIP status
Before you start
You must have CMDB Setup enabled within your General Access security role in order to configure any CMDB administration settings. Depending on if or how your system is partitioned, ensure that you are working in the correct partition.
-
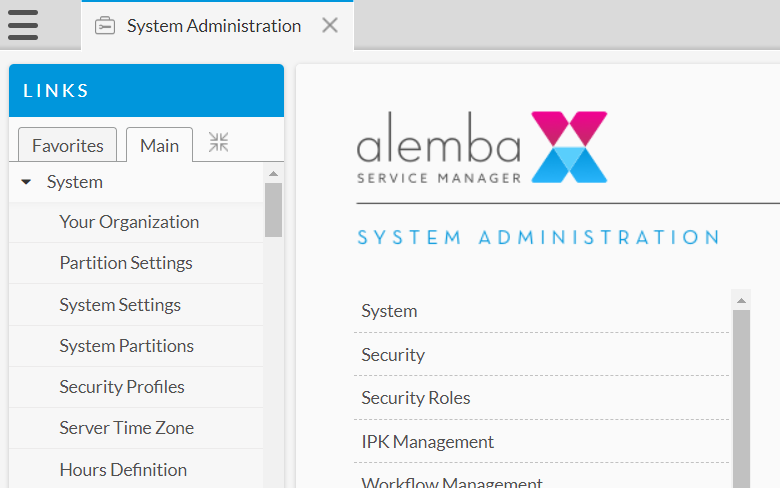
Select the Menu button
 , then Admin, and then select System Administration. The System Administration window is displayed
  . In the Explorer pane expand CMDB.
 - Select User VIP Status to open the window.
- Select
 .
. - Complete the details, as follows:
- Select
 to save the changes. Provide the Change Reasons if prompted to do so.
| Name | Name of the VIP status. |
| Color |
Color associated with the VIP status. When a VIP User is defined on a call or request, the Call Details or Request Details window will indicate that the current User is a VIP, along with the color associated with the VIP status level. |
| Display on Call/Request | When this checkbox is selected, any User with this VIP status will display as a VIP User on any call or request they have logged, any calls or request displayed in Calls Outstanding or Request Outstanding, and also any call, request, or person search results. If this checkbox is cleared, any User with this VIP status will not be flagged as a VIP User, however, they will still have this VIP status on their person details record. |
Updating a User VIP status
Before you start
You must have CMDB Setup enabled within your General Access security role in order to configure any CMDB administration settings. Depending on if or how your system is partitioned, ensure that you are working in the correct partition.
-
Select the Menu button
, then Admin, and then select System Administration. The System Administration window is displayed . In the Explorer pane expand CMDB. - Select User VIP Status to open the window.
- Select the VIP status that you want to modify.
- Update the details as necessary.
- The order in which the VIP statuses are displayed in the table is the order in which they are displayed in the drop-down list on the Person Details window. To change the order, select the status and use the
 and
and  buttons to change the order in the table.
 - Select to save the changes. Provide the Change Reasons if prompted to do so.
It is not recommended that you change the name of the default VIP status.
Deleting a User VIP Status
Before you start
You must have CMDB Setup enabled within your General Access security role in order to configure any CMDB administration settings. Depending on if or how your system is partitioned, ensure that you are working in the correct partition.
-
Select the Menu button
, then Admin, and then select System Administration. The System Administration window is displayed . In the Explorer pane expand CMDB. - Select User VIP Status to open the window.
- In the browse table, select the status that you want to delete.
- Select
 . If you attempt to delete the system default, you will receive a warning message.
 - Select to save the changes. Provide the Change Reasons if prompted to do so.